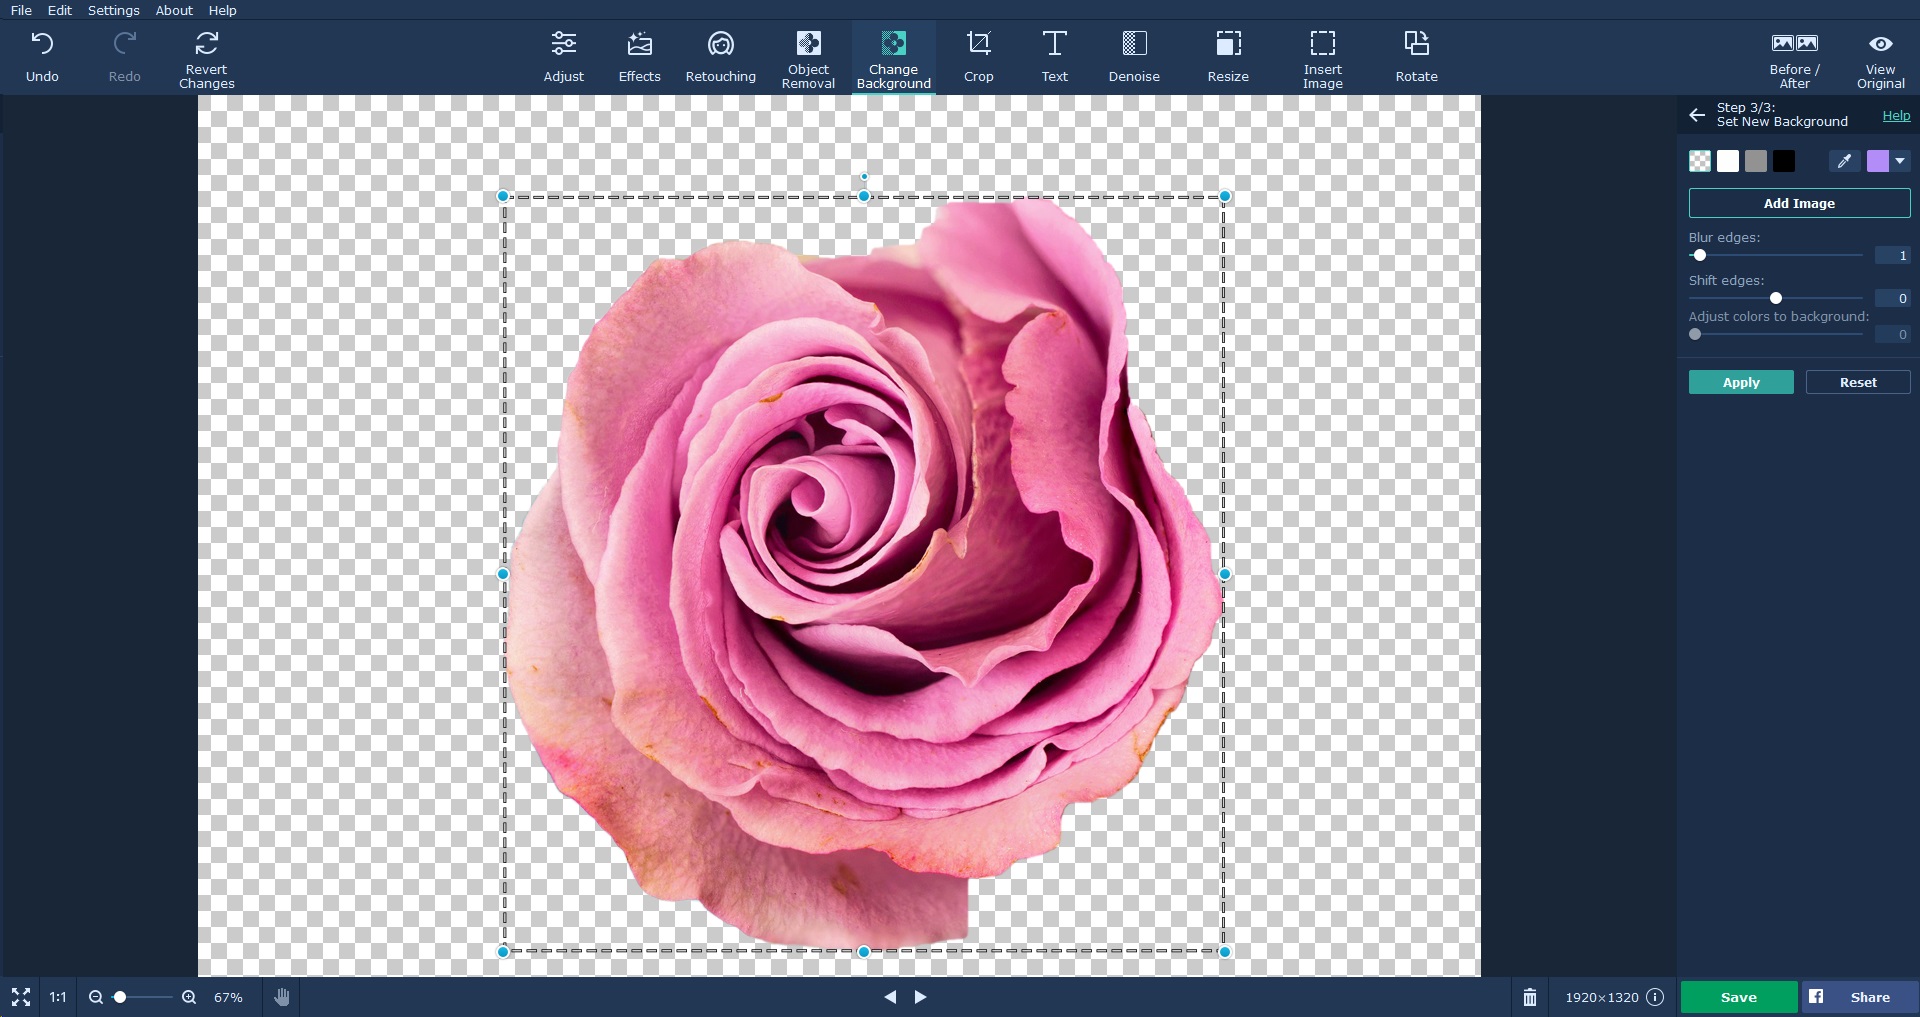
Have you ever taken a picture at a beach, park or restaurant and didn’t like the background? Ever wish you could change the background of your favorite photo to something different, something that you actually like?
Well now you can.
Previously, in order to change a photo’s background you needed to get the help of a professional photographer. People who were good with photo editors could do it themself after carefully removing the background image, sometimes pixel by pixel. But now you can do it in an instant with Movavi’s photo editing software.
Transparent Background Editor
Changing the background of an image to a transparent color makes the image dynamic. A transparent background lets you put the image on different colors, symbols or logos and see different visual effects.
One way to remove the background for an image was through the clipping tool. With this method, you would draw a lasso around the background and delete it from the image. This technique was effective and used by editors and graphic designers for some time before more effective methods of removing background became available. However, the method was time consuming. Once the background was deleted it was also difficult to get it back unless you had the original version of the image.
Movavi Photo Editor
This is a powerful image editing software that adds a ton of features for artists and photo editors. Special effects can be added to photos with just the press of a single button. Removing backgrounds from your photos is as easy as drawing a few curly strokes on the canvas.
In order to remove the background from an image simply follow the steps below.
- Install and open the Movavi photo editor. You can get the software through their website at https://www.movavi.com/support/how-to/how-to-make-an-image-background-transparent.html
- Open a photo in the application. You can do this either by selecting the browse button or dragging and dropping the image on the canvas from another open window.
- At the top of the application, you will see a number of editing options offered by the program. Click the option for Change background.
- You will see two brush options in the pane on the right side. There is an icon for the foreground brush and another one for background brush. Click the foreground and make strokes on the parts of the photo that you would like to keep as foreground. Then select the background brush and stroke on the parts of the photo that you would like to remove as background.
- You can also click the lasso tool and outline your selection. You do not have to make precise selections and you can use the selection eraser to correct any blemishes.
- Once you are done, click the light blue button that says Next Step. The program will determine areas of the image that form the background and remove it from the photo.
- You can refine the edges of your image with the foreground masking brush. There is a hair selection tool that makes the image details clearer. Once you are done clearing the edges, click the next step button to move on.
- The edited image will have a fully transparent background. You will see a selection of colors in the right pane. You can change the background to a color of your choice and adjust transparency from 0 to 100. There is also an option to add another image as the background allowing you to choose logo or any other image of your choice.
The change background feature can also be used to remove specific objects from an image and not just the background. It is a powerful feature and one of the many that comes with the Movavi editor. You can also apply custom color and brightness effects to images, add filters, improve the quality of photos, remove red eye, touch up blemishes, crop, resize and flip pictures or add a 3-D effect.
The app is available for free download and you can unlock all the features with a one time payment.
